Creating an event
-
1. Click Events tab from the nav and then Create Event Button
Click on the Events tab from the navigation. Then once on this page click on the "Create New Event" button. OR from the dashboard main page, click on create event.
-
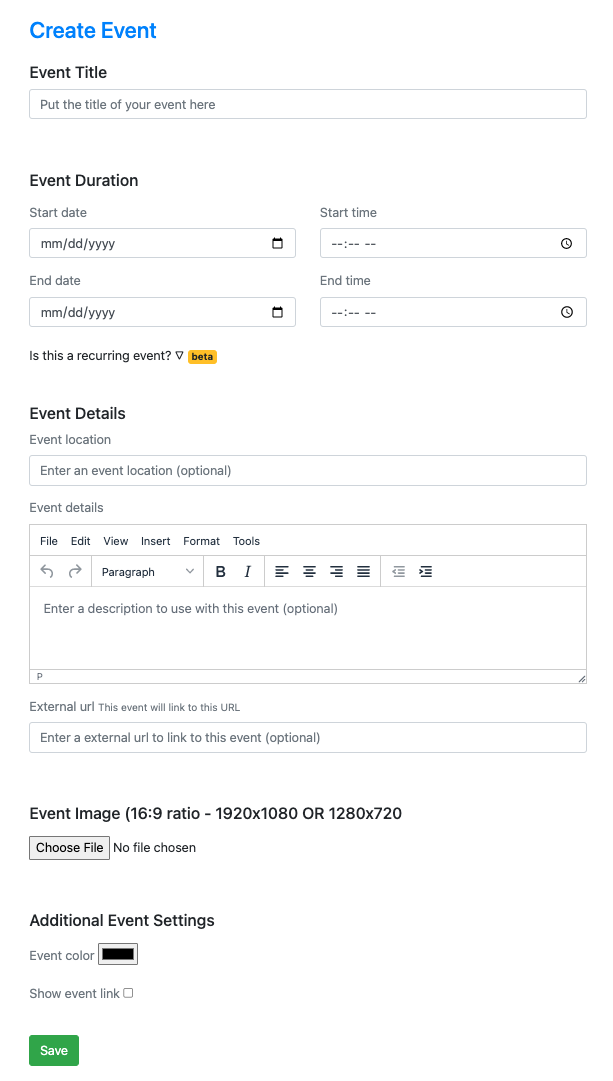
2. Enter your event details
We recommend filling in all the fields of the Create Event form. By default all events need a title, and start + end time. Other fields in the form are optional but again recommended.
-
3. Uploading an image
If you want to upload an image (kind of like a poster), you can do that in the event image section. The recommended dimensions are 1920px x 1080px OR 1280px x 720px.
-
4. Click save and create!
All done! Your event has been created and will now show up on your calendar.
-
Optional. Recurring Event
If your event repeats, you can open up the "Is this a recurring event?" section. Select all the days that the event repeats (apart from the day you put in originally in the event duration section of the form).